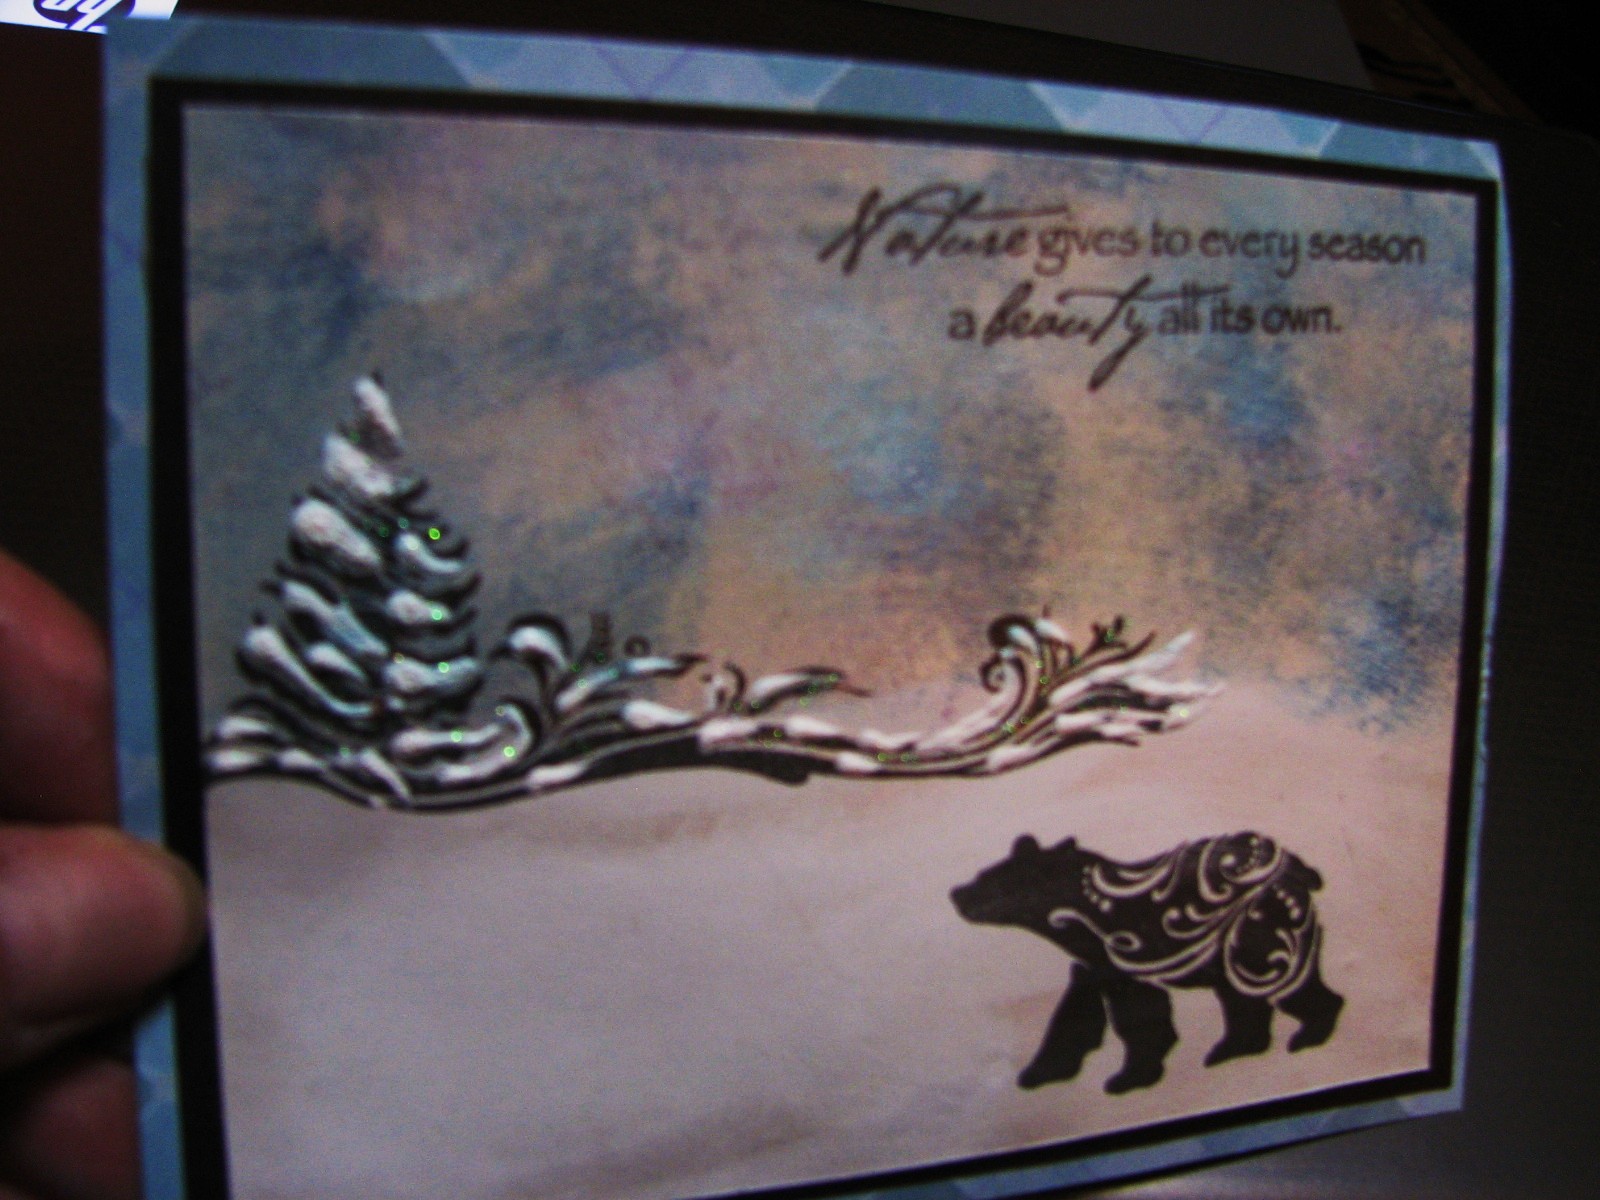
Mounted on black and then on paper from Wonderland paper pack.
Friday, October 14, 2011
Nature's Gift
Thursday, October 13, 2011
Believe Paper Pack and AP Poinsettias
I just love the red plaid in the Believe paper pack and wanted to try a different card fold for this card. Cut a white 4 1/4"x 11 1/2 " piece of paper. Score at 2" from one end and 3 1/2" from other end. To make the poinsettia, I cut 2@ 3" Star Flowers from the AP cricut cardridge found on page 39 of the AP booklet, 1@ 1 1/2 " in cranbery cardstock and 1@ 3/4" in olive.Turn the flowers over and score each petal like a leaf. Turn back over the top and lightly sand exposing the veins in the petals. Highlight with cranberry ink. Stack the flowers on top of each other to form the flower, cut 2 leaves out of olive. I went around the edges with glitter glue to add some sparkle. The borders were cut with a Martha Stewart border punch using New England Ivy cardstock. I used 2 Shape2 on page 36 of the cricut booklet cut at 1 1/2 " for the sentiment on the outside and the inside lower flap. The inside center was cut in white using the Oval 5 cut @ 3 1/2. The words for the inside of the card come from one of the stamp sets that come in the Art Philosophy Cartridge bundle. If you haven't gotten yours yet, you can order one here. I hope you enjoy this card, it was fun to make. Inspiration for this card design comes from Joanie http://craftingwithjoanie.blogspot.com/ make sure you visit her blog, you will not be disappointed.
Sunday, October 9, 2011
Halloween mask- batman to fox
Working on the Halloween masks for my daughter Sara and her husband Rob. I still need to figure out how I'm going to do the nose, not sure whether it will end up being molding foam or Styrofoam. Also need to add whiskers probably with broom straws painted black. I love making costumes and have just as much fun with the adults as I do with the kids.
(no animals were harmed in the creation of these masks)
I've got the first one almost done as you can see, I think my little fox turned out cute, so glad I found "Batman" to be the base, then it was just buying fake fur in white and a red brown and a really good glue that hubby had (Quick Grip) to secure the fur to the plastic.Started with the white fur mouth area then cut a piece of reddish brown to start at the nose and go up the face between the ears, Trimmed the fur fabric ( always cut just the fabric from the back so you get natural lay to the fur) around the eyes, With the black plastic it worked out beautifully to give a black rim to the eyes and still keep the fur from around the eye for safety and comfort. Next made a rough paper pattern for the face sides, letting the fabric extend past the mask on the sides for about an inch., Then I cut out of a cardboard cereal box some larger shaped fox ears and glued them to the bat ears. A small section of white was then added and layers of reddish brown covering the front edges and back of ears, so they look real from the back too. A black broad tip Sharpie was used to darken the fur around the ears and for eyebrows.
So I decided on using a modeling foam and painted them with shiny black paint and broom straws painted black as well. Now my next challenge is to get them packed up and safely sent to Sara. I'm hoping that the whiskers will not get destroyed.
I can't wait to see the pictures from their Halloween party when they dress up as Mr and Mrs. Fox.
What do you think? Do you do costumes or decorations for Halloween?
Tuesday, September 27, 2011
Details on Poinsettias
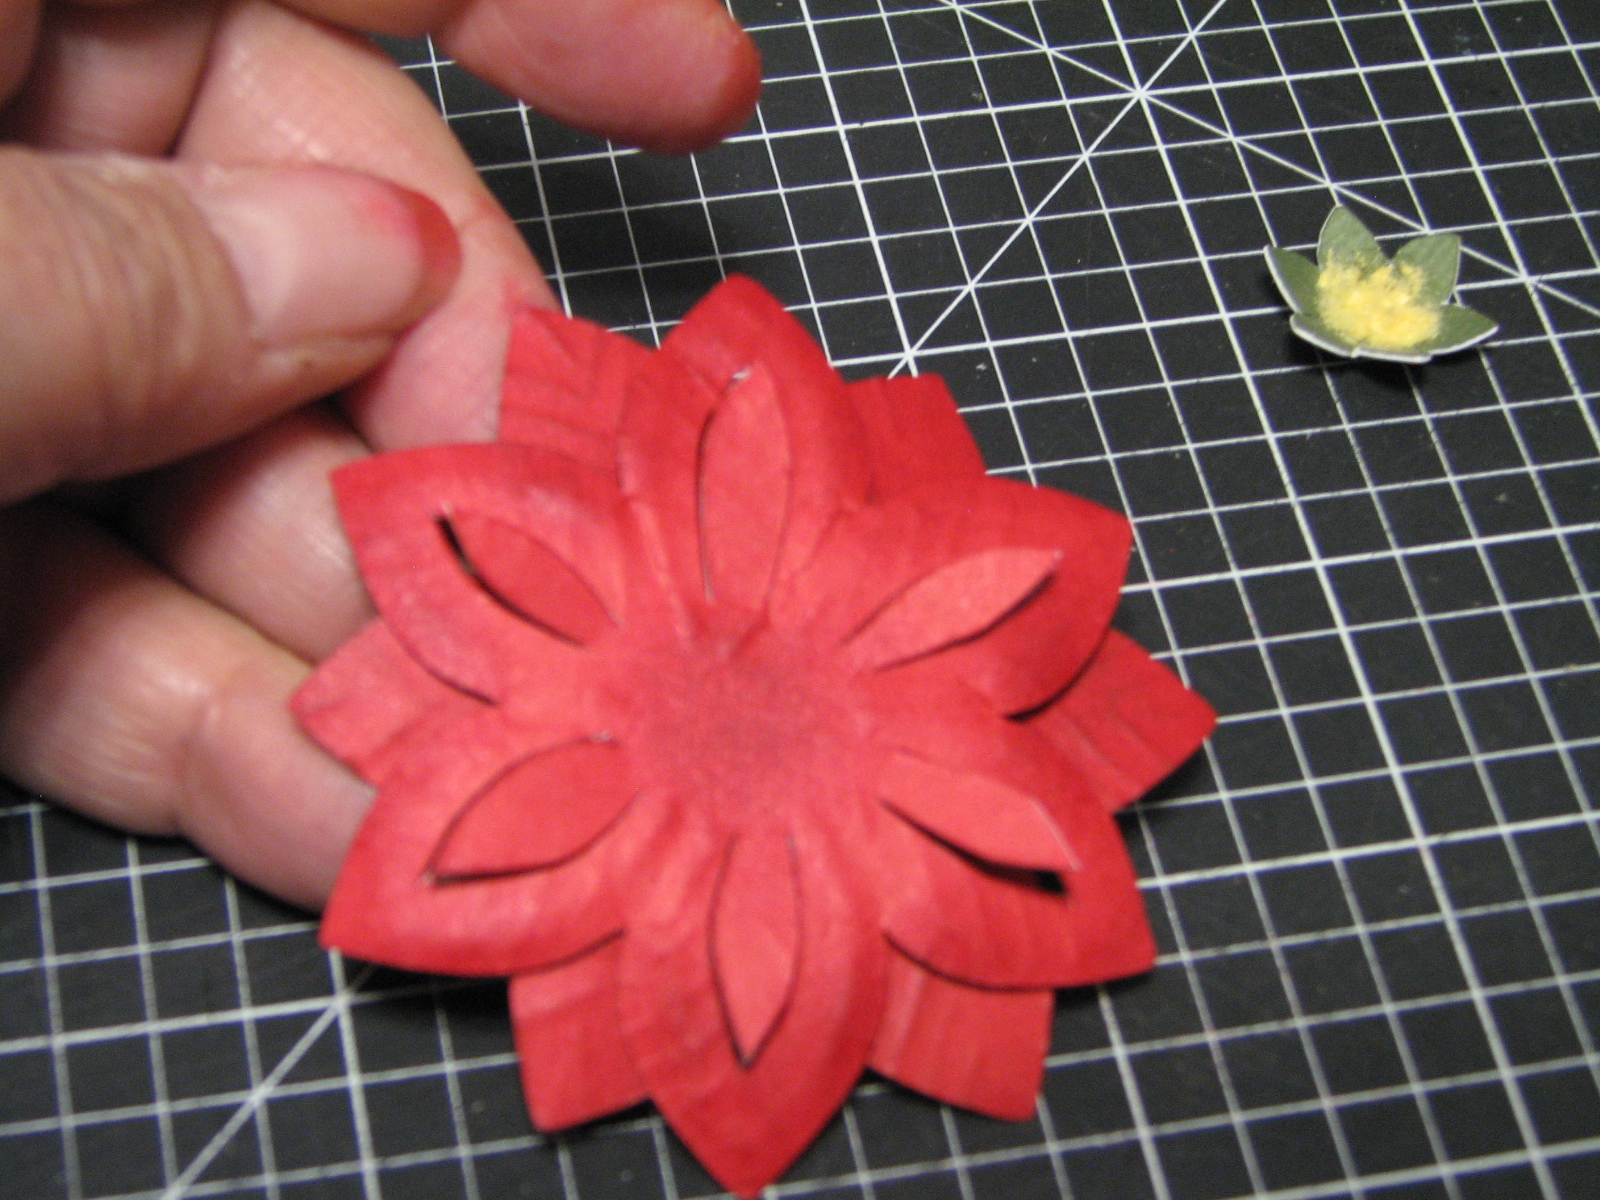
I have had a couple of questions about my poinsettia cards, yes they are cut from Art Philosophy the star flower on page 39 . I cut 2 and on studying some images of poinsettias, one of the characteristics is the vines on the individual lines of each petal, kind of like a leaf, so I turned the cut image over and used a stylus on my piercing mat to score lines like a leaf so they would be raised on the front.
I layered 2 flowers on top of each other off setting them, but on the top flower I also used a stylus on the opposite side to not only add the vines but went around the edge of each petal following the shape of the petal
(It's hard to take a picture and hold the camera too, sorry it so blurry.)
a very small star flower in green was cut for the center and I used my stylus around and round in the very center to cup up the center and filled it with the homemade yellow flowersoft. The leaves were the same star flower cut apart from New England Ivy same size and scored the same way, I sanded the right side lightly to bring the veining out and let the light core show thru.
Hope that helps, you can email me anytime if you need more help. ( Don't mind the red fingers, now you know why this blog is called "Doing it with Ink" , I seem to have ink on my fingers all the time). Have a great day
wrong side
right side
Then I used a sponge dauber with cranberry ink over the raised vines to really make them pop.I layered 2 flowers on top of each other off setting them, but on the top flower I also used a stylus on the opposite side to not only add the vines but went around the edge of each petal following the shape of the petal
(It's hard to take a picture and hold the camera too, sorry it so blurry.)
and then when I flipped it over I used an exacto knife to cut the cut shape in the middle of each petal and popped it up a little.
Monday, September 26, 2011
A Couple More Simple Christmas cards
Got this idea in my head for using the Art Philosophy cartridge to make some poinsettia flowers. Nothing says Christmas to me more than bright red poinsettias and I love red with bright white, like the white you get when you use our White Daisy cardstock, so here are a couple I came up with today to share with you.
Used cuttlebug embossing folders to do the top and bottom borders and the main image. Same poinsettia as the first one cut just a touch smaller at 2 1/4". Click on the pictures to enlarge and see detail closer. Let me know what you think of my poinsettias?
The poinsettia was cut at 2 1/2" with the star flower in cranberry cardstock and I used the same flower for the leaves, simply cutting off the petals, and used New England Ivy. I used a stylus to score the lines for the leaves, then lightly sanded for definition. A stylus was used on the petals of the flowers to give some texture and top flower has a small petal shape cut in the center of each petal that is raised slightly. A small 3/4" star flower was cut in New England Ivy and a dot of glue holds down some homemade flowersoft, made by rolling a piece of non ctmh yellow cardstock and grating it with a very fine grater. The sentiment is a cuttlebug embossing folder and I scored a rectangle with 3 straight lines all around with a scor pal. These were both pop dotted and then adhered to a cuttlebug folder embossed card front.
Starting early on Christmas this year
Ok well I guess those cute little pencils toppers got me thinking about doing my Christmas cards early this year. I wanted to share with you my favorite one that I made last year, put away in a safe place, then couldn't find it and thought I had actually sent it to someone without making a copy for my card book. Well I found it in it's safe place and photographed it for you.
Just click on the card to enlarge it and see more detail.
Simple, elegant, embossed lines with the scor pal and swiss dots cuttlebug embossing folder, embossed only in the middle of the card. Labels 4 nestabilities in the two largest sizes pop dotted to add dimension. Stamped the image from Snow Days C 1420 in black, then lightly went over the branches with brown watercolor pencil, the bridge was colored with grey, tree a light green and water light blue. I wanted everything muted and soft. The snow areas were covered with a homemade flower soft in white, that I made by grating some foam board with a very fine cheese grater. The sentiment is from the stamp set Captured Moments C1423. another one of my favorites. A couple of pearl adhesve gems finishes off the card. I hope you enjoy this one. Now I need to make another so I can send it off this year. I love the white on white with just the hint of color, don't you?
Sunday, September 25, 2011
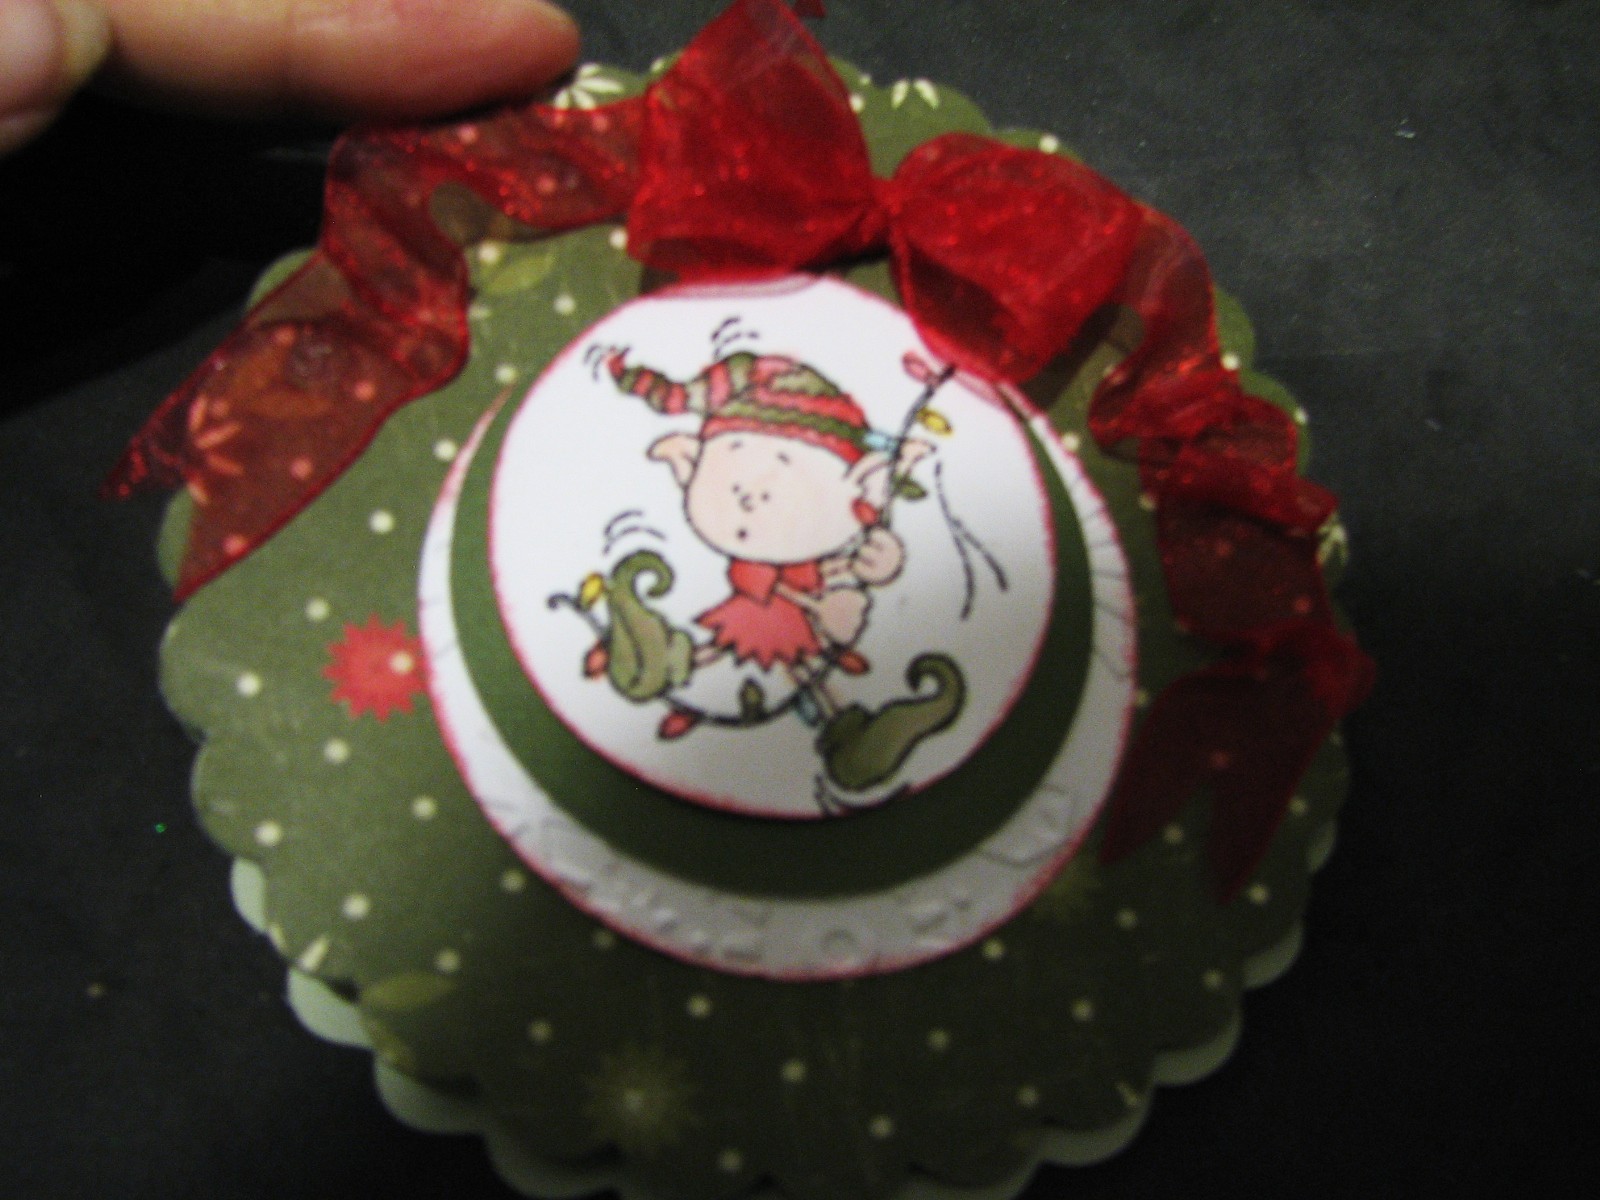
Merry Pursuits Round Scalloped Easel Card
Surprise I'm also a gift card holder, the perfect size to tuck that wonderful gift for your special someone.
The cuts are so easy with the Art Philosophy cartridge, everything lines up so perfectly and are so crisp and perfect. The card base is cut out of retired Textured New England Ivy cardstock using the card feature on page 31 and cut at 4 1/4 inch. This will fit nicely in a standard size envelope for mailing. You will also need 1 page 31 cut at 4 1/4 for the top of the card from cardstock and 1 of the same size cut from Background and Texture paper or patterned paper of your choice. I used some retired CTMH paper that I had on hand. You will need to also use the regular circle found on page 21 and cut (1) at 2" in white, (1) at 2 1/4" in New England Ivy and (1) at 2 1/2 in white (which I embossed with a cuttlebug folder), (1) at 3" in New England Ivy and (1) at 3" in Background and Textured paper. I used the red side of the B&T.
. Fold the TOP of the card base in half and fold back on itself.
Adhere the Background and Textured 4 1/4" scalloped circle to the 4 1/4" New England Ivy scalloped circle matching the scalloped, so easy since they are identical cuts.
Stamp your image on the 2" white circle, I used one of the little elves from Merry Persuits B1313 and colored him with a waterbrush and ink from the top of the stamp pads. I embossed the larger white circle using a cuttlebug folders with snowflakes, then glued the 2" onto the 2 1/4", then onto the embossed 2 1/2 circle These were glued off center with upper right edges lining up. Then this unit was glued to the prepared card top.
Line the top unit up with the card base that is folded backwards and glue just the upper edges.
I finished the inside by taking the B&T 3" circle and folding it in half and gluing those halves together to give it more bulk since this is the lip that the easel sits on. I glued the half circle to the 3" New England Ivy circle only at the edges making sure that my card would fit into the pocket and then added a double bow and ribbon and a snowflake button. The placement of my circle unit was determined by the size of my gift card. I think I will go back and distressed the outer edges of the inside card with some New England Ivy ink to add something extra. The double bow with the gathered tails were added to the front of the card and I just love the effect.
What do you think?
Labels:
Art Philosophy,
cuttlebug,
technique,
tutorials
Subscribe to:
Posts (Atom)