Cut with the CTMH Art Philosophy Cartridge, finished basket is a 3 1/4 x 3 1/4 x 2 1/4 inch container . Use page 23 Basket set on Fit to Page.The feet were cut from Oval 2 on page 32 at 1 1/2" (cut 2), the ears are on page 59 Petal 2, cut 2 in white 3 31/4" and 2 pink at 3". Nose uses Heart pg 26 cut at 1" in white and 3/4" in pink. Eyes are circle cut 1/2" in black, Foot pads pg. 21 circle in pink 2 at 1" and 6 at 1/4" Whiskers were just 1/4" strips cut various lengths. Only takes minutes to put together. I did take the cut out from the handles on the basket and reinsert behind the ears with the back of the ears holding it in place so you don't see a hole between the ears. A double pink bow also helps to hide the seams. It's got a white cotton ball on the back for her cottontail.
Showing posts with label Art Philosophy. Show all posts
Thursday, March 8, 2012
Mini Bunny Basket
Cut with the CTMH Art Philosophy Cartridge, finished basket is a 3 1/4 x 3 1/4 x 2 1/4 inch container . Use page 23 Basket set on Fit to Page.The feet were cut from Oval 2 on page 32 at 1 1/2" (cut 2), the ears are on page 59 Petal 2, cut 2 in white 3 31/4" and 2 pink at 3". Nose uses Heart pg 26 cut at 1" in white and 3/4" in pink. Eyes are circle cut 1/2" in black, Foot pads pg. 21 circle in pink 2 at 1" and 6 at 1/4" Whiskers were just 1/4" strips cut various lengths. Only takes minutes to put together. I did take the cut out from the handles on the basket and reinsert behind the ears with the back of the ears holding it in place so you don't see a hole between the ears. A double pink bow also helps to hide the seams. It's got a white cotton ball on the back for her cottontail.
Tuesday, February 21, 2012
February Hostess Cards
I almost never gravitate to yellows, maybe because it's just not a great color on me,so when I decided to come up with a couple of cards for my monthly hostess club ladies, I challenged myself to use yellows. Buttercup met honey and my yellow monochromatic butterfly card was done. A cuttlebug embossing folder was used on the first buttercup layer to give another dimension, then a layer of honey for contrast, a pinstriped embossed buttercup which we made scoring every line on a Martha Stewart scoring pad ( you could also use your stylus and 12" fiskar trimmer). Our beautiful lacy butterflies were cut using the AP Cricut cartridge in Honey and popped up in the center using foam tape and accented with 3 white pearls. A simple white bow finishes the card. I like to sometimes not include a sentiment so that I have cards on hand that I can personalize as I need them.
The new Card Word Puzzle is such a fun stamp set and I just love the Rose image that is part of this set. Our next card uses a heat embossing technique that is so much fun. We started out with white cardstock and stamped the rose image three times on the white with versamark, then we sprinkled the versamark image with clear detail embossing powder and heat embossed it. Using a sponge and Grey Wool ink we worked the grey wool ink over the entire white cardstock in a circular motion. Then a phrase was stamped in black surrounded by a frame cut with the AP Cricut cartridge in black cs accented with small white pearls. This layer was mounted on buttercup, then black and finally the base white card. I didn't take a picture but a single grey wool rose is stamped inside the card as well.
Monday, November 21, 2011
First time using Design Studio and first Shape/Word book
Well I've been a cricut owner for a number of years, a cricut occasional user for some time and now with the addition of CTMH Art Philosophy I started using my cricut almost everyday for almost everything I create. I got a great deal on an Expression a few months ago, which opened up still another level of creativity with the cricut and I have discovered more of the AP cartridge potential with the large flowers, frame mats, and all the rest of the nearly 700 images available. A couple of days ago I finally got my Design studio software up and working (computer incapability issues) and found word (shape) books on youtube. Well here is my first attempt at using my Design Studio, along with the Base Camp cartridge and some CTMH cardstock. I haven't finished decorating this for JOSHUA yet, but couldn't wait to show you my first, but I can tell you, not my last Shape/Word book. I hope you love it, by the way don't tell Joshua about it (it's a present).
These could get addictive.
Sunday, November 20, 2011
I've been creating, just not posting, sorry
This has been a really crazy month for me. I went to visit my DD's family over Halloween, We had a great time, with the weather turning crisp and the leaves changing into a burst of autumn glory. She lives in a area that is totally natural and in the summer it is hard to find the sunshine, but oh how glorious it is in the fall. Had fun helping with Halloween costumes, attended both school and neighborhood festivials and did some shopping.
What I also did was come home with a nasty cold which flared up my COPD and my chronic broncities and landed me in bed for over a week when I got home.
So now to show you some of the projects that I've done with my crafting ladies that meet here once a month.
Love the easel cards and using Art Philosophy for all the cuts is so simple and easy. I told you I love red plaid and poinsettia, so you will see a theme to my Christmas creations this year. The Believe paper pack is just perfect and of course this is my favorite one in the pack. Gold embossing the words, just as a pop of glam, don't you think?Used my silver metallic cardstock and some outdoor denim cardstock and of course my favorite cartridge, AP fir te cuts. Then embossed some of the same silver cardstock with a cuttlebug folder that looked like swirly snow to complete the outside. I've got more to post and will try and get to them later today to try and get caught up. I've just started playing with my design studio software that I was unable to use due to computer conflict and I've been having a great time. Hope you all are having as much fun as I am.
Labels:
Art Philosophy,
Christmas,
Cricut,
cuttlebug,
Family
Thursday, October 13, 2011
Believe Paper Pack and AP Poinsettias
I just love the red plaid in the Believe paper pack and wanted to try a different card fold for this card. Cut a white 4 1/4"x 11 1/2 " piece of paper. Score at 2" from one end and 3 1/2" from other end. To make the poinsettia, I cut 2@ 3" Star Flowers from the AP cricut cardridge found on page 39 of the AP booklet, 1@ 1 1/2 " in cranbery cardstock and 1@ 3/4" in olive.Turn the flowers over and score each petal like a leaf. Turn back over the top and lightly sand exposing the veins in the petals. Highlight with cranberry ink. Stack the flowers on top of each other to form the flower, cut 2 leaves out of olive. I went around the edges with glitter glue to add some sparkle. The borders were cut with a Martha Stewart border punch using New England Ivy cardstock. I used 2 Shape2 on page 36 of the cricut booklet cut at 1 1/2 " for the sentiment on the outside and the inside lower flap. The inside center was cut in white using the Oval 5 cut @ 3 1/2. The words for the inside of the card come from one of the stamp sets that come in the Art Philosophy Cartridge bundle. If you haven't gotten yours yet, you can order one here. I hope you enjoy this card, it was fun to make. Inspiration for this card design comes from Joanie http://craftingwithjoanie.blogspot.com/ make sure you visit her blog, you will not be disappointed.
Sunday, September 25, 2011
Merry Pursuits Round Scalloped Easel Card
Surprise I'm also a gift card holder, the perfect size to tuck that wonderful gift for your special someone.
The cuts are so easy with the Art Philosophy cartridge, everything lines up so perfectly and are so crisp and perfect. The card base is cut out of retired Textured New England Ivy cardstock using the card feature on page 31 and cut at 4 1/4 inch. This will fit nicely in a standard size envelope for mailing. You will also need 1 page 31 cut at 4 1/4 for the top of the card from cardstock and 1 of the same size cut from Background and Texture paper or patterned paper of your choice. I used some retired CTMH paper that I had on hand. You will need to also use the regular circle found on page 21 and cut (1) at 2" in white, (1) at 2 1/4" in New England Ivy and (1) at 2 1/2 in white (which I embossed with a cuttlebug folder), (1) at 3" in New England Ivy and (1) at 3" in Background and Textured paper. I used the red side of the B&T.
. Fold the TOP of the card base in half and fold back on itself.
Adhere the Background and Textured 4 1/4" scalloped circle to the 4 1/4" New England Ivy scalloped circle matching the scalloped, so easy since they are identical cuts.
Stamp your image on the 2" white circle, I used one of the little elves from Merry Persuits B1313 and colored him with a waterbrush and ink from the top of the stamp pads. I embossed the larger white circle using a cuttlebug folders with snowflakes, then glued the 2" onto the 2 1/4", then onto the embossed 2 1/2 circle These were glued off center with upper right edges lining up. Then this unit was glued to the prepared card top.
Line the top unit up with the card base that is folded backwards and glue just the upper edges.
I finished the inside by taking the B&T 3" circle and folding it in half and gluing those halves together to give it more bulk since this is the lip that the easel sits on. I glued the half circle to the 3" New England Ivy circle only at the edges making sure that my card would fit into the pocket and then added a double bow and ribbon and a snowflake button. The placement of my circle unit was determined by the size of my gift card. I think I will go back and distressed the outer edges of the inside card with some New England Ivy ink to add something extra. The double bow with the gathered tails were added to the front of the card and I just love the effect.
What do you think?
Labels:
Art Philosophy,
cuttlebug,
technique,
tutorials
Life's Good
The weather is starting to cool down here in southeastern Virginia and soon the leaves will begin to turn colors. Here is one of the cards that we made last week at my Hostess Club in honor of fall. I love the warm colors and the Art Philosophy cartridge made it so easy to do all the cuts. I used the Dreaming paper cut 1/4 inch smaller than my colonial white card base, the Oval 5 cut at 4 inches from Colonial White and then stamped with 2nd generation chocolate ink using the words from D1477 universal backgrounds. I distressed the edges with chocolate ink. Next I cut out 2 acorns from page 36 of the AP cartridge book at 1 inch in colonial white and 2 acorn caps from chocolate and embossed them using a cuttlebug folder.The acorns I stamped in desert sand using universal backgrounds and distressed the edges with desert sand to give some definition. The leaves were cut at 2 inches from page 34 of the AP book and stamped with the coordinating stamp that comes with the AP cartridge. They were inked first in Honey then before stamping I touched the edges on the Autumn Terracotta pad then stamped and edged with sponge dauber in chocolate. A chocolate grosgrain bow was added to tie the leaves and acorns together. The Ticket was from the You and Me stamp set D1495 and the ticket was cut from page 25 of the AP book at 1" stamped in chocolate and distressed with chocolate with a chocolate brad. Inside I have the little owl from the Pair a Phrase stamp set shown in an earlier post.
I hope you like this, it was so easy to put together using the Art Philosophy cartridge.
As always to see a closer look at this card simply click on the card to enlarge.
I hope you like this, it was so easy to put together using the Art Philosophy cartridge.
As always to see a closer look at this card simply click on the card to enlarge.
Sunday, September 18, 2011
How cute are these?
One of the wonderful and talented CTMH consultants, Tracey Sanders posted her creations on her blog, http://www.gr8scraps.blogspot.com/ complete with cutting directions and I had to give a couple of them a try. Please go to her blog and let her know how much you love them, she has so many great things that she has created using the new Art Philosophy cricut cartridge. If you haven't gotten yours yet you can go here and place your order. You won't believe how versatile this one cartridge is. Tracey made hers in the larger size to attach a jumbo candy cane to.
I wanted to use them to attach pencils as little Christmas presents for Jackson's kindergarten class, I'll be looking for the fat ones that little hands use, but regular size ones were all I had available for the picture.
I'll be more than happy to share the sizes that I reduced them down to if you are interested. Tracey has all the cutting sizes on her blog for the large ones. I cut my bow ties out of white cardstock and brayered over them in cranberry with a decorative brayer that I have instead of using patterned paper. Oh and did you notice the Angry Bird, another one of Tracey's creations, that I just love.
All of the cuts were done using the Art Philosophy cartridge and CTMH paper. On the Angry bird I also used some liquid glass on his eyes to make them shine. Tuesday, August 23, 2011
Extreme Talent
Sorry I haven't posted for a few days, but life in the O'Leary world has been a little hectic and I haven't had time to sit down and create. I'm sitting with Jackson while little brother Joshua is in the hospital for some surgery. Please keep him in your prayers, his Type 1 diabetes makes even simple procedures somewhat of a challenge.
Since I may not be home for a few days, I just had to share this wonderful collection that the extremely talented Lisa Stenz (http://www.lisascreativecorner.blogspot.com/) created with the new CTMH Art Philosophy (AP) cricut cartridge Z1686 and the wonderful CTMH paper pack Sonoma X7143B, with a gorgeous color palate using Smokey Plum, Olive, Cocoa and Bamboo. Pretty in purple! This luxurious kit begs to be used with those important moments in life: graduations, weddings, anniversaries, promotion celebrations, and more. You'll love the versatility of the two-sided Background and Texture papers and the coordinating My Stickease® images! Click on the image to enlarge.
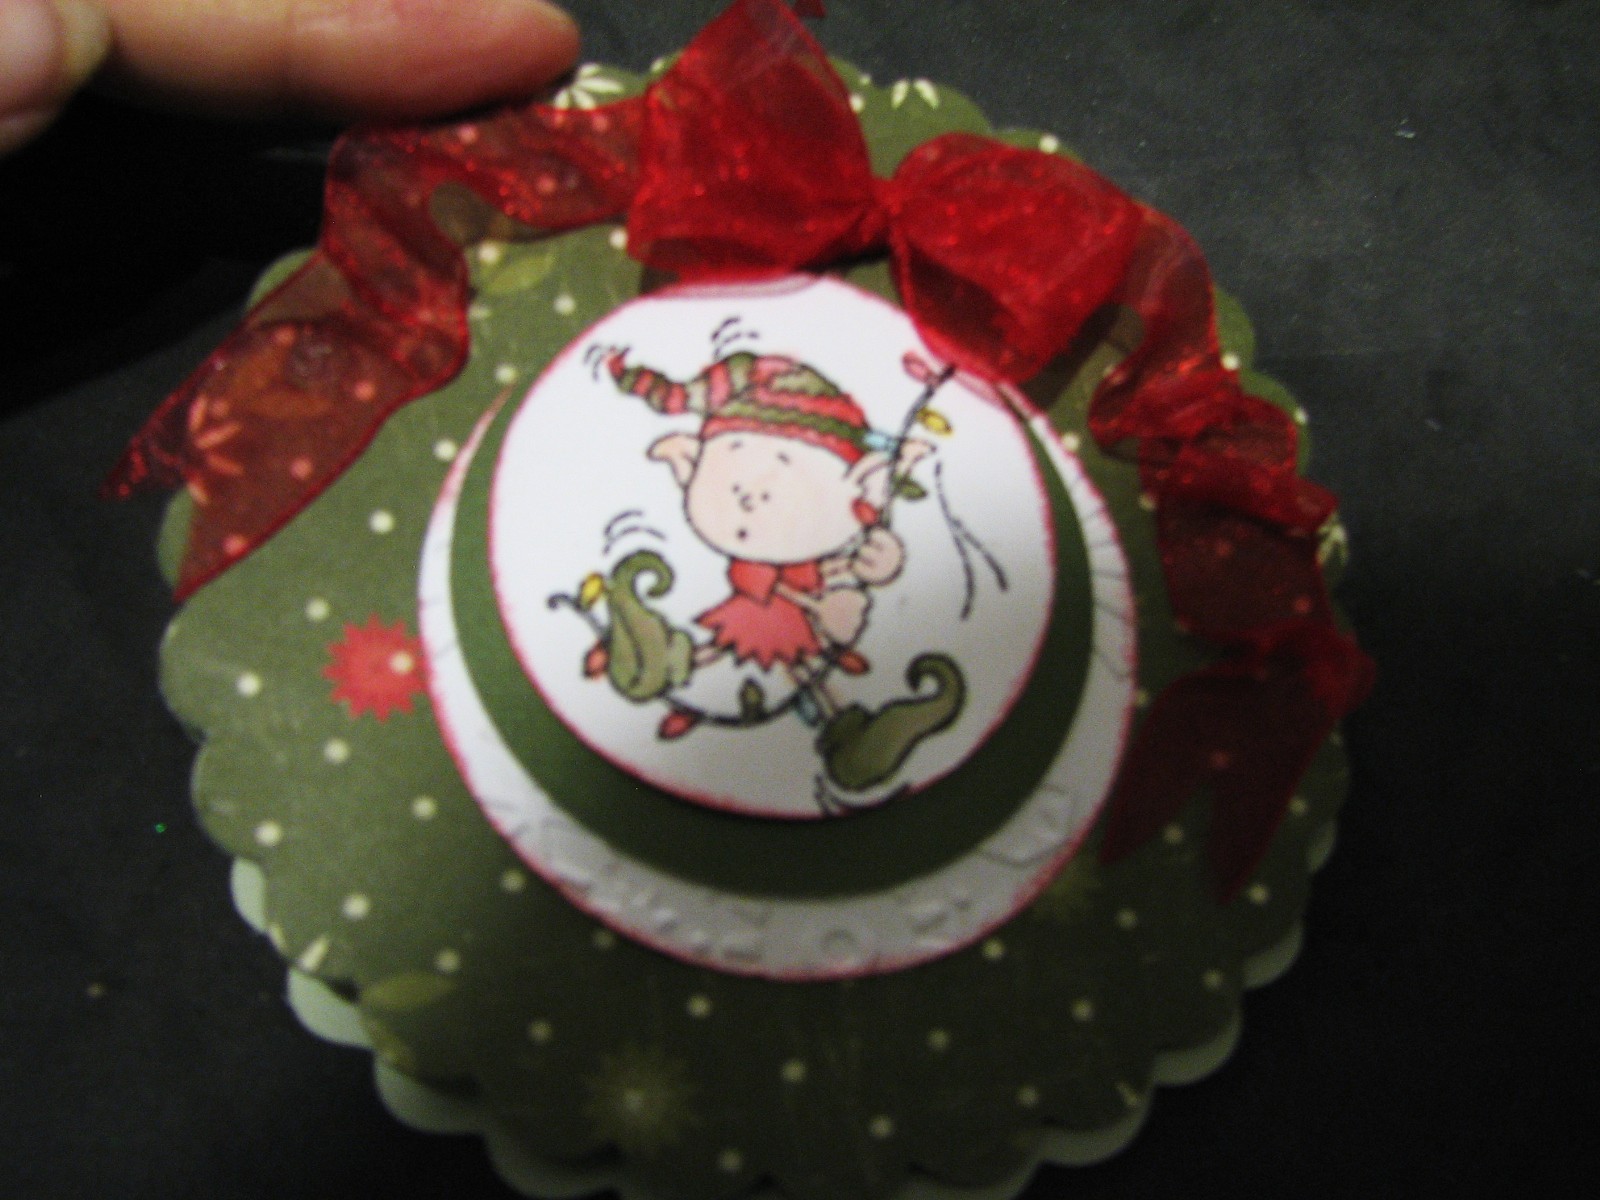
But CTMH didn't stop at just producing with cricut a great cartridge, the Art Philosophy collection which retails for $99 also comes with 3 full My Acrylix Stamp sets, which coordinate with the images on the cartridge and 3 sheets of chipboard which also coordinate with the stamps and the images. The entire collection is certainly a great bargain. Email me @ ja5oaks@aol.com or visit my website www.ctmh.com/janeo and go to shop online to order this fantastic cricut collection and any of our wonderful new line of My Reflections Paper packs.
Thank you again Lisa Stenz for allowing me to share this very special collection of artwork.
Sunday, August 14, 2011
For Jackson
Jackson is my 5 year old grandson, and one of my favorite people. Oh don't get me wrong, I have 4 other equally favorite other grandsons, but this card in not for them. Jackson is going to be going off to big boy school ....kindergarten starting in early September. He will be attending school all day, starting a journey that I hope he will love, learn and laugh through for the next 18 or so years. When CTMH came out with this stamp set, School Zone several years ago, I knew I had to get it and I knew I would use it to make Jackson a card...so this one is for him. I won't be there when he starts his new journey but I know my card will be and I know he will be thinking of me when he looks at it.
The new Card Pattern this week was just what I needed to encourage me to make it well ahead of time, so I make sure it gets to him on time. I'm somewhat of a procrastinator and usually leave everything to the last moment, a trait that drives my (have to have it done early) hubby crazy.
CTMH Fanfare Level 2 paper pack X7138B, School Zone, Cricut Art Philosophy, Cricut My World, Black, Barn Red, Star Spangled Blue, brayer, water brush watercolor crayons, cranberry grosgrain ribbon.
Cut the scalloped border using the Art Philosophy cricut cartridge and colored with Star Spangled blue ink and brayer, school building cut from My World cricut cartridge and colored with Barn Red and brayer. One of my favorite ways to experiment with different colors is to cut the images in white daisy and use the brayer to color the cardstock instead of having to load numerous colors of cardstock into the cricut and I can cut everything without having to load and unload. Colored my little boy with water brush and watercolored crayons that I got a craft store. I've had them for ages and don't remember which store it was. The little boy is popped up on the card with foam adhesive. I stamped the inside and left room for a personal note for my not so little anymore grandson. Hope Jackson and you all like it.
Thursday, August 11, 2011
My first Sketch Challenge
A big thank you to Carol Lee of caroldlee.blogspot.com for turning me onto the cardpatterns.blogspot.com. I fell in love with this current sketch and knew it was perfect to showcase the new Art Philosophy cricut cartridge sold by CTMH. Here is the stetch.
I pulled out my Dreaming level 2 paper X7142B and cut a 4x4, some White Daisy CS and my terrific Art Philosophy cartridge and started to create. First I cut a Doilys using the one on pg. 68 with the FlurDel at 3 1/2 inches, then I pulled out some retired ribbon Twilight and mounted it on the doily with glue dots. I absolutely love sunflowers and made mine by cutting the flower on page 212 @ 1 1/2 and 1 @ 1 1/4 for the large flower, and 2@ 1 1/4 and 1@ 1 inch for each of the small flowers using white daisy cardstock. Yep you read that right, white daisy. I love to color the flowers once I cut them out and find I can do a lot of cuts, sometimes filling a mat with images. Once they are cut out I just used my Sunflower Ink and my brayer to add the color to the white cardstock. I layered the 2 larger cutouts, staggered on each other, then the slightly smaller one again staggered. I cut out 3 circles from page 21 @ 1/2 inch from some retired chocolate textured cs and used my piercing tool and mat to make the center textured. I repeated this for the 2 smaller flowers. The leaves were again cut out of white daisy cs, using the @ 1 1/2" and colored with brayer and Olive ink.
Mounted on 4 1/4 by 4 1/4 inch retired chocolate textured cardstock. Stamped the sentiment in Chocolate in from the Card Chatter Sympathy D1476. I really liked the way the card turned out, but realized I'm not much of a square type of person. I've never been into checks, I'm more of a pokadot person, or stripes, so rectangles are more appealing to me, so I added the original square 4 1/4x 4 1/4 card front to a 5 1/2x4 1/4 standard size card and a couple of the flourishes from the August Stamp of the Month, Wicked S1108, in chocolate ink and came up with my finished card.
I pulled out my Dreaming level 2 paper X7142B and cut a 4x4, some White Daisy CS and my terrific Art Philosophy cartridge and started to create. First I cut a Doilys using the one on pg. 68 with the FlurDel at 3 1/2 inches, then I pulled out some retired ribbon Twilight and mounted it on the doily with glue dots. I absolutely love sunflowers and made mine by cutting the flower on page 21
Mounted on 4 1/4 by 4 1/4 inch retired chocolate textured cardstock. Stamped the sentiment in Chocolate in from the Card Chatter Sympathy D1476. I really liked the way the card turned out, but realized I'm not much of a square type of person. I've never been into checks, I'm more of a pokadot person, or stripes, so rectangles are more appealing to me, so I added the original square 4 1/4x 4 1/4 card front to a 5 1/2x4 1/4 standard size card and a couple of the flourishes from the August Stamp of the Month, Wicked S1108, in chocolate ink and came up with my finished card.
Which do you prefer, the square or the rectangle? Here's another example of the great Dreaming Paper pack and some wonderful Art Philosophy images.
Tuesday, August 9, 2011
CTMH Art Philosophy cricut images
This is just a smidgen of the cuts that you can make with this wonderful new cartridge, a Close To My Heart exclusive. Check out all the different images that you can cut and just imagine with all the sizes available on your cricut the possibilities. Click on any photo to enlarge it.
So many tages, flowers, 3 D flowers, boxes, cards and envelopes, borders and accent pieces. I'd love to show you this cartridge in person, just give me a call. You can purchase this cartridge along with the 3 coordinating stamp sets and the chipboard elements created to go hand and hand with this cartridge. Purchase during August and you can purchase the August Stamp of the Month for only $5 and also receive the A size stamp Type Set for Free. check it out at http://www.janeo.myctmh.com/.
Saturday, August 6, 2011
CTMH Cricut Cartridge Art Philosophy

But that's not all that makes this such a must have cartridge. How about if you could make 3-D flowers, boxes, tags, a new font, cards and envelopes? Take a look at the display board that I made on my little bug (the original one not the big expression) by cutting out the images from just one of the 50 buttons available. The images on the left were all cut a 2", the multicolored butterfly was one of each size on the little bug , and the 3 D flowers and boxes were done at 4". There are a total of like 700 images on the cartridge and then with all the size variations you have the potential for thousands of images from just this one cartridge. Christmas will be here before you know it and I love to give gift cards to my grown kids so they can choose what they really want. I know I will be using the unique little boxes for those gift cards, gives them something to open and insures that the gift cards don't get lost under the tree.
Close To My Heart didn't stop at just these three stamp sets to coordinate with the cricut cartridge though, there are numerous stamp images throughout the new catalog (which you can view entirely online by clicking on the catalog on the right side) which also match the images on the cartridge and they are easily identified by a red line outlining the image. I can't wait to play some more and post more artwork for you all to enjoy.
Subscribe to:
Posts (Atom)