Surprise I'm also a gift card holder, the perfect size to tuck that wonderful gift for your special someone.
The cuts are so easy with the Art Philosophy cartridge, everything lines up so perfectly and are so crisp and perfect. The card base is cut out of retired Textured New England Ivy cardstock using the card feature on page 31 and cut at 4 1/4 inch. This will fit nicely in a standard size envelope for mailing. You will also need 1 page 31 cut at 4 1/4 for the top of the card from cardstock and 1 of the same size cut from Background and Texture paper or patterned paper of your choice. I used some retired CTMH paper that I had on hand. You will need to also use the regular circle found on page 21 and cut (1) at 2" in white, (1) at 2 1/4" in New England Ivy and (1) at 2 1/2 in white (which I embossed with a cuttlebug folder), (1) at 3" in New England Ivy and (1) at 3" in Background and Textured paper. I used the red side of the B&T.
.

Fold the TOP of the card base in half and fold back on itself.
Adhere the Background and Textured 4 1/4" scalloped circle to the 4 1/4" New England Ivy scalloped circle matching the scalloped, so easy since they are identical cuts.
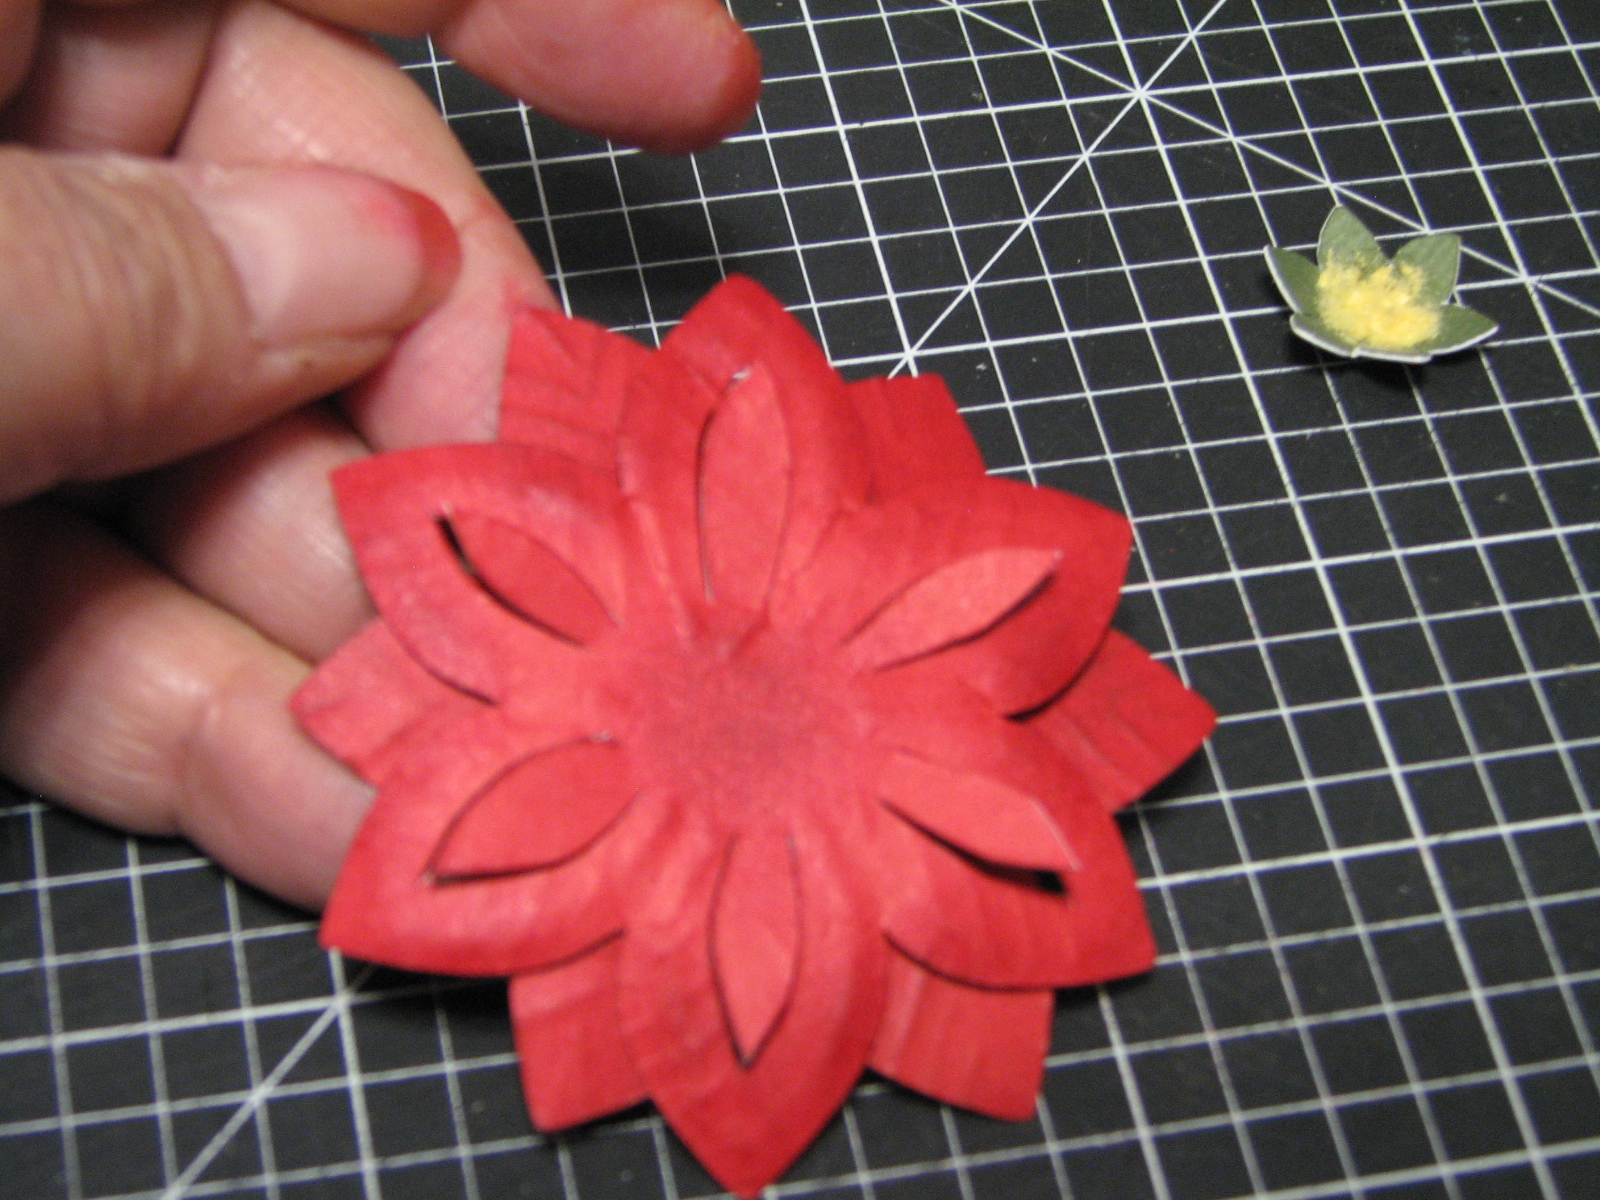
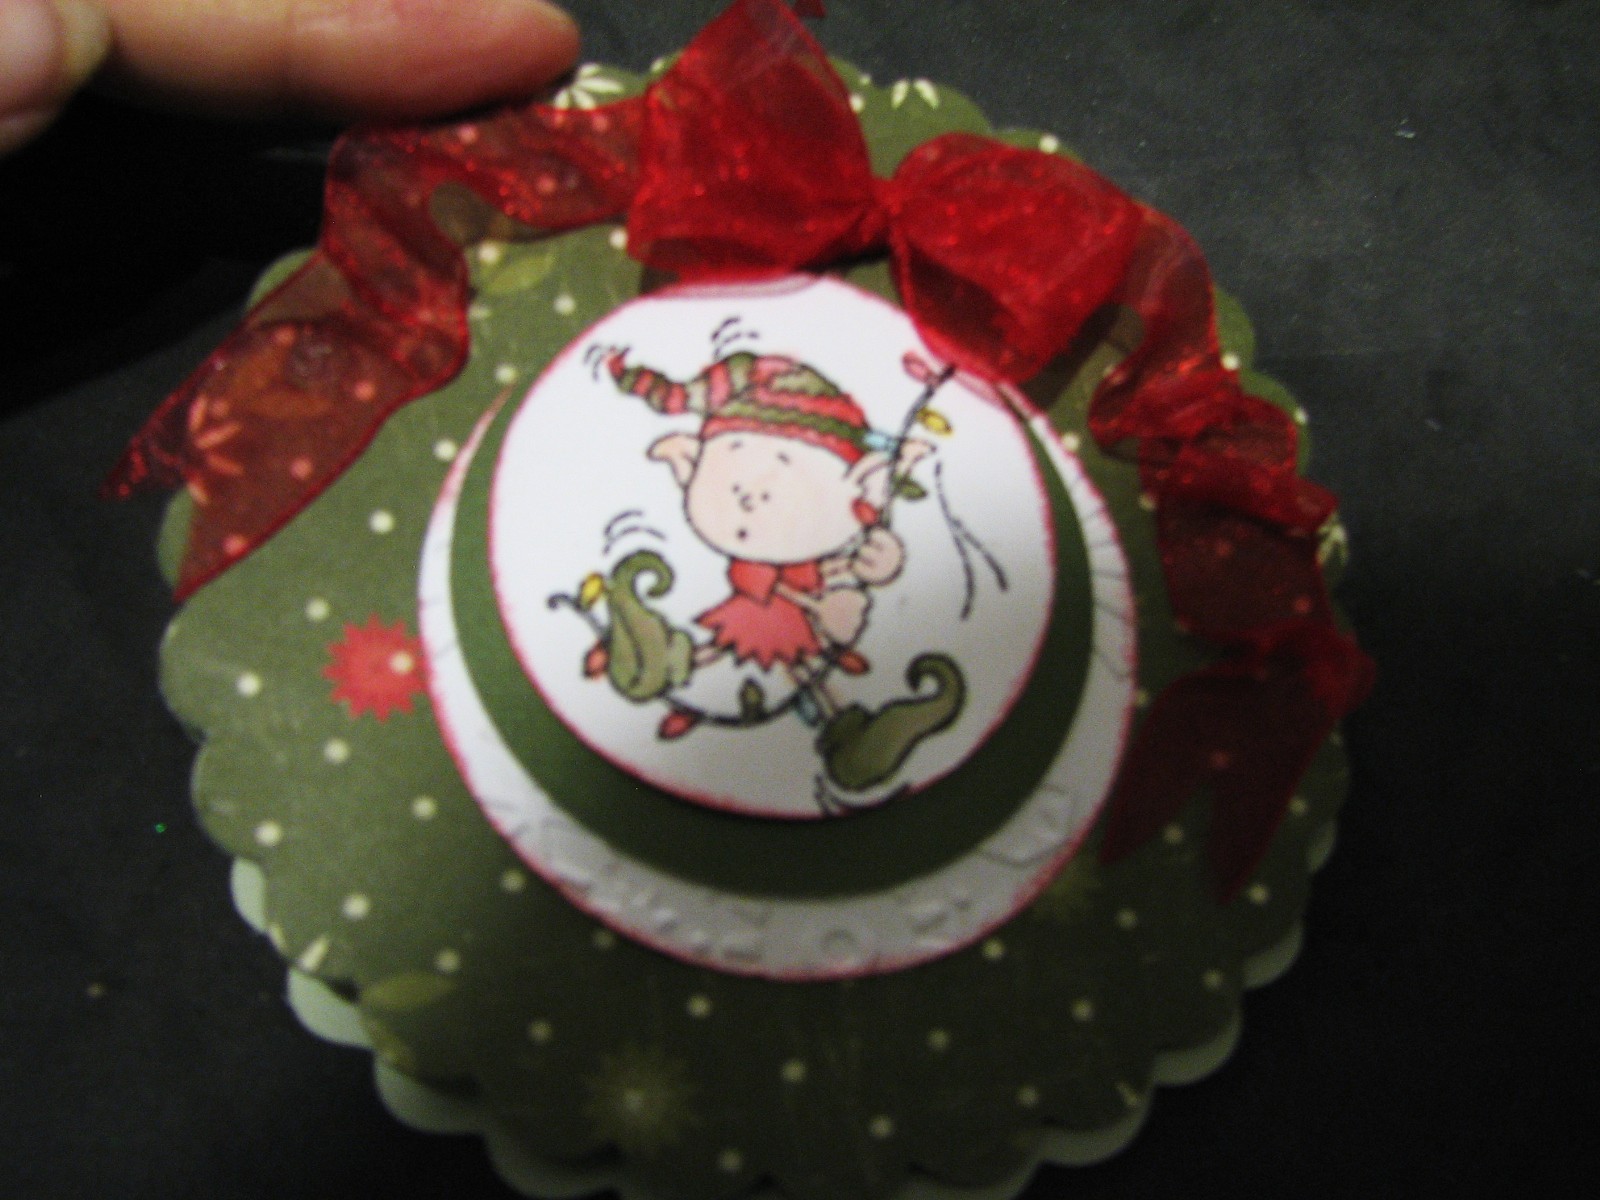
Stamp your image on the 2" white circle, I used one of the little elves from Merry Persuits B1313 and colored him with a waterbrush and ink from the top of the stamp pads. I embossed the larger white circle using a cuttlebug folders with snowflakes, then glued the 2" onto the 2 1/4", then onto the embossed 2 1/2 circle These were glued off center with upper right edges lining up. Then this unit was glued to the prepared card top.
Line the top unit up with the card base that is folded backwards and glue just the upper edges.
I finished the inside by taking the B&T 3" circle and folding it in half and gluing those halves together to give it more bulk since this is the lip that the easel sits on. I glued the half circle to the 3" New England Ivy circle only at the edges making sure that my card would fit into the pocket and then added a double bow and ribbon and a snowflake button. The placement of my circle unit was determined by the size of my gift card. I think I will go back and distressed the outer edges of the inside card with some New England Ivy ink to add something extra. The double bow with the gathered tails were added to the front of the card and I just love the effect.
What do you think?